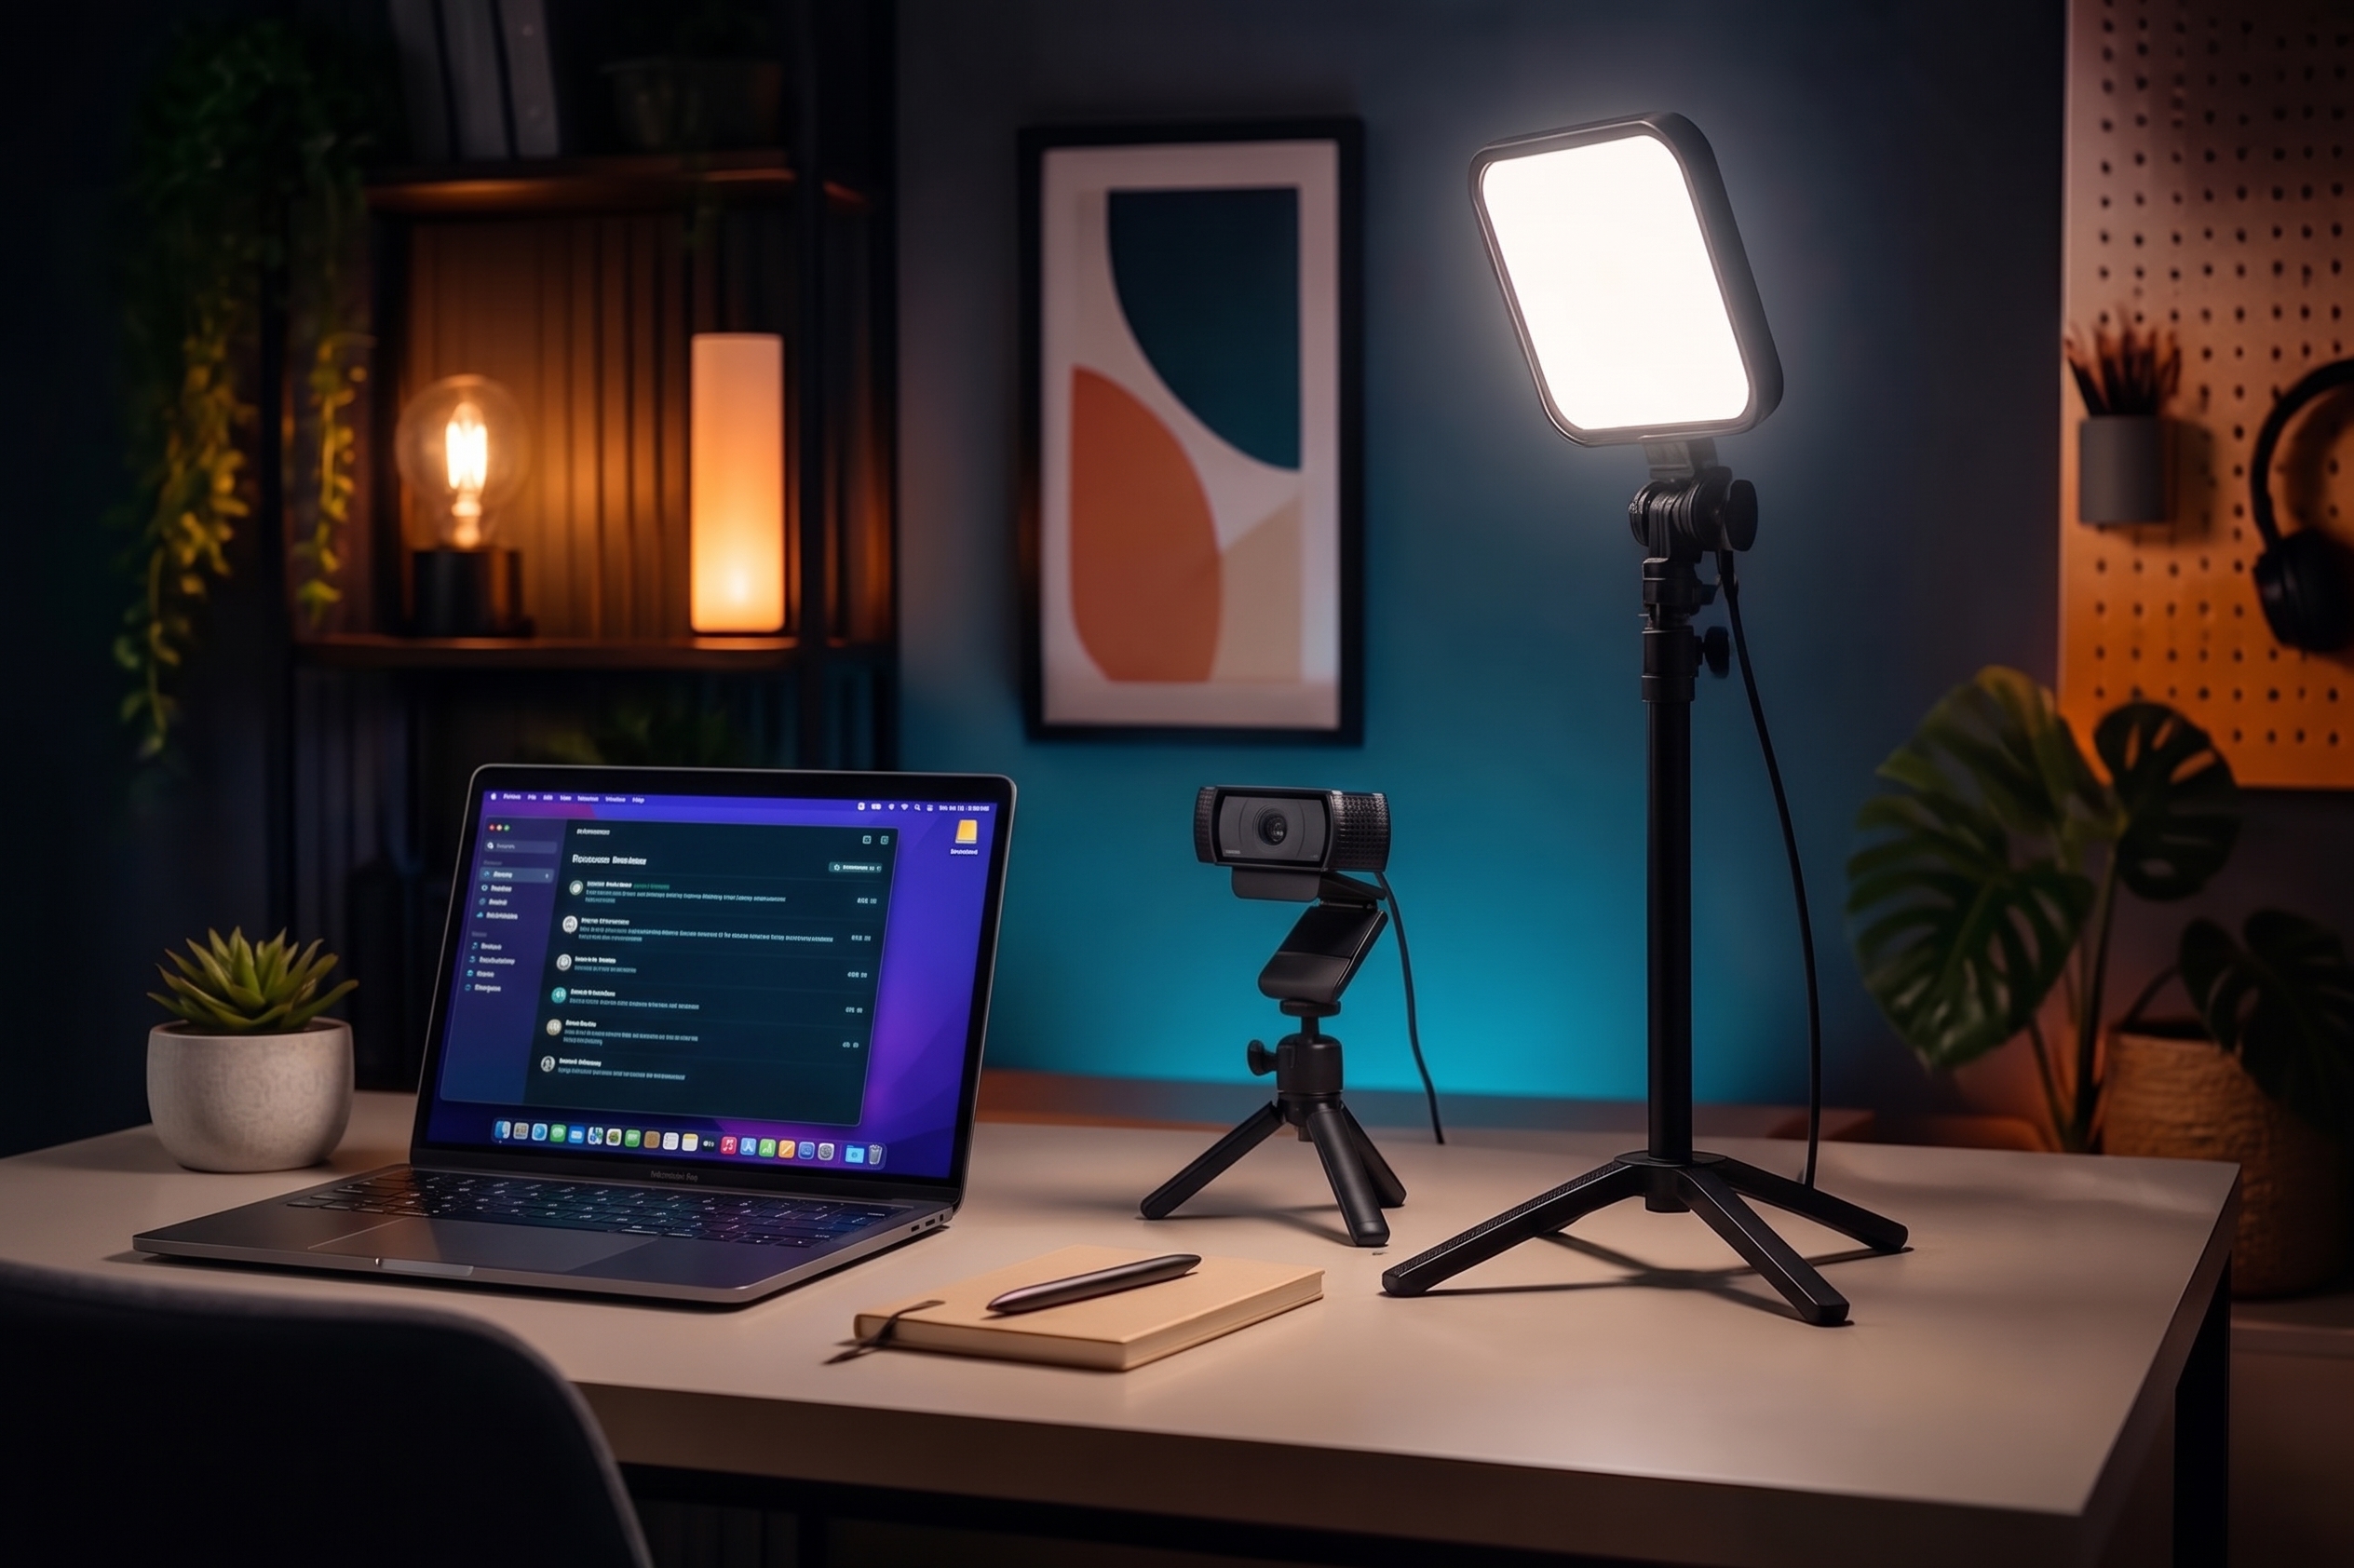
Prioritize one soft, adjustable key light with a stable stand and repeatable placement. Add a second light only after the first produces consistent results.
Mark the placement before shopping
Choose the camera position, then mark where a light stand could actually fit without blocking a door, monitor, or walking path. Measure maximum stand footprint, working height, and distance from face. A powerful light that cannot occupy the correct position will underperform a smaller light that can stay close and slightly above eye level.
Use apparent size to control softness
A larger light source relative to the subject creates gentler shadow transitions. A compact panel becomes softer when moved closer or paired with diffusion, although diffusion also reduces output. Compare lights at the intended distance rather than from specification sheets alone. Look for smooth skin transitions, controlled reflections in glasses, and enough brightness to keep the camera from adding visible noise.
Match and lock color
Mixed daylight, room lamps, and adjustable LEDs can produce inconsistent skin color. Turn off unnecessary sources, select one dominant color temperature, and set or lock the camera’s white balance after the light is positioned. Canon describes white balance as the control used to reproduce colors accurately under different lighting conditions. Recheck it whenever the source or room light changes.
Evaluate controls and power honestly
Prioritize flicker-free dimming, usable brightness steps, stable color across the dimming range, a secure tilt mechanism, and a power option that matches the location. For battery use, time a real session at the required brightness rather than relying only on maximum-runtime claims. Include the stand, diffuser, power adapter, batteries, charger, and case when comparing total weight and cost.
Create a repeatable setup card
Photograph the stand position and record height, angle, brightness, color setting, camera white balance, and distance to the subject. Time setup and teardown three times; if the average exceeds two minutes, simplify the mount or power path. Record a 30-second reference clip and keep it with the setup card so future changes can be compared against a known result.
Three setups you can actually repeat
These are starting layouts, not tested kits or universal measurements. Adjust while watching your own camera image. A key light is the main light on the subject; fill gently brightens the shadows it leaves.
Start with the window you have
Place the camera at eye level and face a window at a slight angle. Use a blind to soften direct sun if one is already fitted. Switch off a room lamp that casts a conflicting color onto your face.
Upgrade when: calls happen after dark or daylight changes during meetings. Add one dimmable, diffused desk light and test it in the actual calling app.
Complete setup: existing window and blind, camera, optional desk light, compatible mount, and its required USB or mains power. Existing equipment can make the first experiment cost nothing.
Light the work surface
Start with a broad source to one side of the table, outside the camera frame. Work with both hands and check whether either casts a shadow over the step you are explaining. Put a matte white card opposite the key if shadows hide detail.
Upgrade when: a larger work area or moving hands cannot stay evenly lit. Try a larger diffused panel or a light with a compatible softbox before adding several tiny panels.
Complete setup: light, suitable diffusion, stable support, power, and optional secured bounce card. Any overhead mount needs a support system rated for the full load.
Pack one controllable key
For a seated portrait, try the key roughly 30–45 degrees to one side of the camera and a little above eye level. Start around an arm’s length away if the frame and fixture allow it. Adjust for comfort, brightness, and the shape of the shadows.
Upgrade when: the source must be farther away, the frame is wider, or daylight overwhelms it. More output and a larger modifier may matter more than RGB effects.
Complete setup: compact light, diffuser, support, charged battery or suitable power supply, cable, and a case. Weigh the whole kit and allow runtime margin beyond the planned recording.
Which kind of light fits the job?
| Type | Useful for | Main compromise |
|---|---|---|
| Window + bounce | Daytime calls and learning placement | Weather and time of day change the result. |
| Diffused desk panel | Close seated calls and recordings | Mount position and power can limit output and angle. |
| Ring light | Near-camera, relatively even face lighting | Distinctive circular reflections; limited shadow shaping when centered. |
| Light + softbox | Tutorials, portraits, or a broader illuminated area | More space, support weight, and setup time. |
| Pocket LED | Travel, close fill, and small accents | Small emitting area; diffusion and distance consume useful output. |
Read the specifications without mixing units
Watts describe electrical power, lumens total visible output, and lux the light arriving at a surface. Compare lux only at the same distance, color setting, and modifier. A narrow beam can produce a high center reading while covering little of your scene. CRI and TLCI describe aspects of color rendering; neither proves good skin color, stable dimming, or a flicker-free result with your camera.
Three products worth comparing by use case
Research-led shortlist, checked September 14, 2026. Manufacturer documentation supports the features below. The fit and tradeoffs are editorial judgments; Maker Signal has not performed hands-on output, color, flicker, or battery measurements for this guide. These are candidates to test, not ranked winners. Check current regional price, stock, exact model, and package contents at the linked source.
Logitech Litra Glow
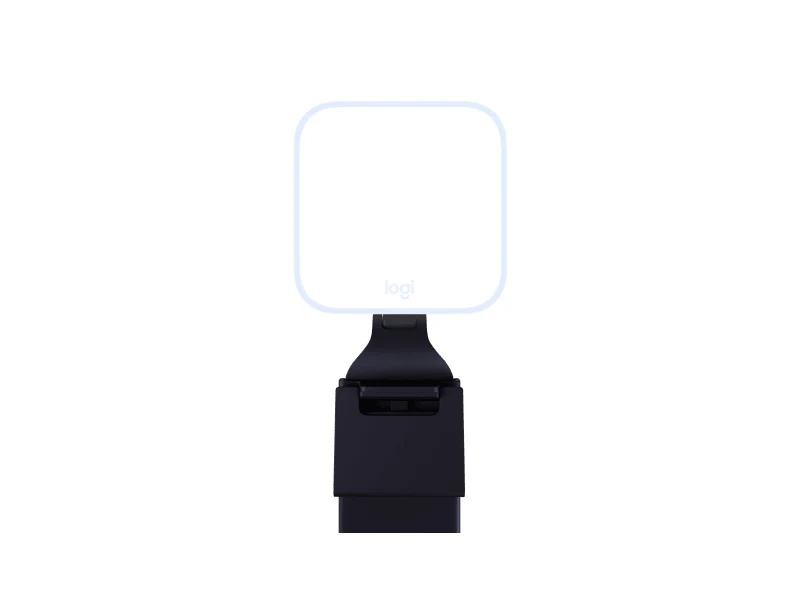
A diffused light with an adjustable monitor mount, rear brightness and color controls, and optional G HUB control.
Tradeoff: A monitor mount saves desk space but limits where the light can sit. Check reflections in glasses before choosing a position directly above the screen.
Before buying: Confirm monitor fit and USB power requirements. Choose a separate mount if the screen position cannot give you a useful light angle.
View Logitech Litra Glow on Amazon (affiliate link)
Manufacturer details: Logitech Litra Glow ↗Elgato Key Light Air MK.2
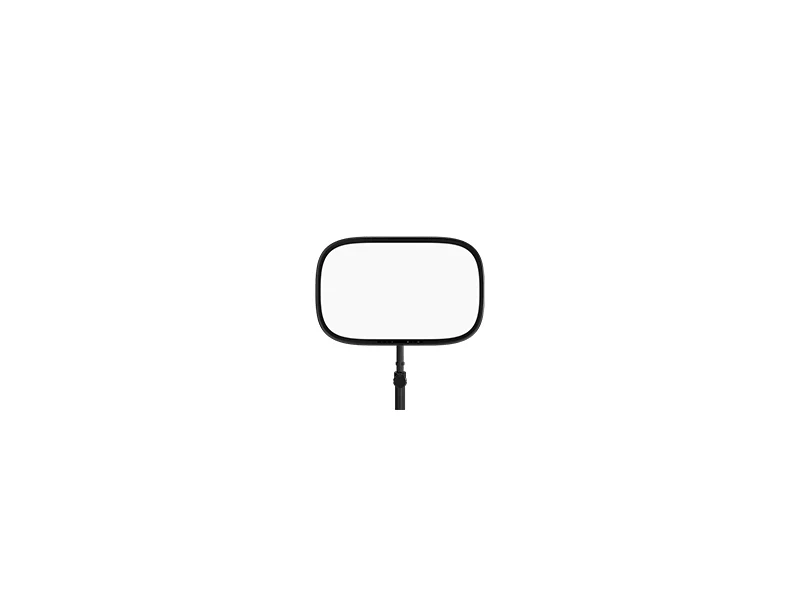
USB-C power, built-in touch controls, and a clamp mount. Elgato specifies up to 2,100 lumens, with output dependent on the power supply.
Tradeoff: Check the exact generation: the original Key Light Air has different hardware. A low-power USB connection reduces the MK.2’s available brightness.
Before buying: Measure clamp clearance and check the regional package for a power adapter. Compare the complete powered setup, not just the panel.
View Elgato Key Light Air MK.2 on Amazon (affiliate link)
Manufacturer details: Elgato Key Light Air MK.2 ↗amaran Ace 25x
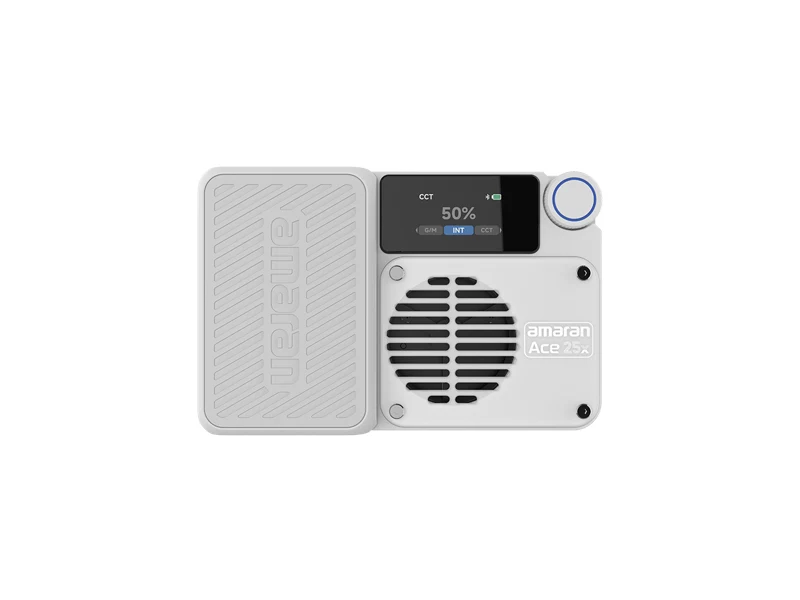
A bi-color light with an internal battery and quick-release mounting. Standard output is 25W; Boost reaches 32W. The single-light package includes a dome diffuser and cold-shoe adapter.
Tradeoff: Small size is useful for travel but does not create a large soft source. The advertised 4 h 40 min runtime belongs to the 6.5W Silent mode, not full-output Boost. Boost can increase fan noise.
Before buying: Budget for the required support and charging supply. The Amazon link is for the white light, not the travel kit. The mini tripod is in the Kit or sold separately. Test both microphone pickup and runtime at your actual brightness.
View amaran Ace 25x on Amazon (affiliate link)
Manufacturer details: amaran Ace 25x ↗Compare the total you will pay
Write down light + mount + diffusion + power supply + batteries or charger + case + delivery and tax. Mark what is included and what you already own. We omit headline prices because variants, bundles, and regional availability change; compare current quotes for complete working kits. Buy a second light only when you can name the remaining problem—such as unreadable shadows or inadequate background separation—and the first light cannot solve it.
A studio upgrade and one useful accessory
These recommendations are based on manufacturer documentation and Amazon listing checks, not hands-on testing. Amazon links use Maker Signal’s affiliate tracking; compensation does not determine inclusion.
amaran 100x S + Light Dome 60
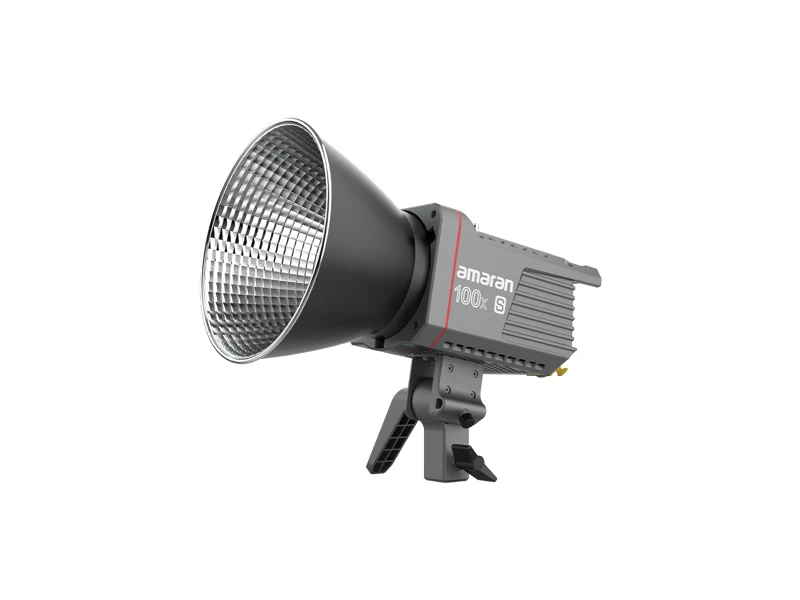
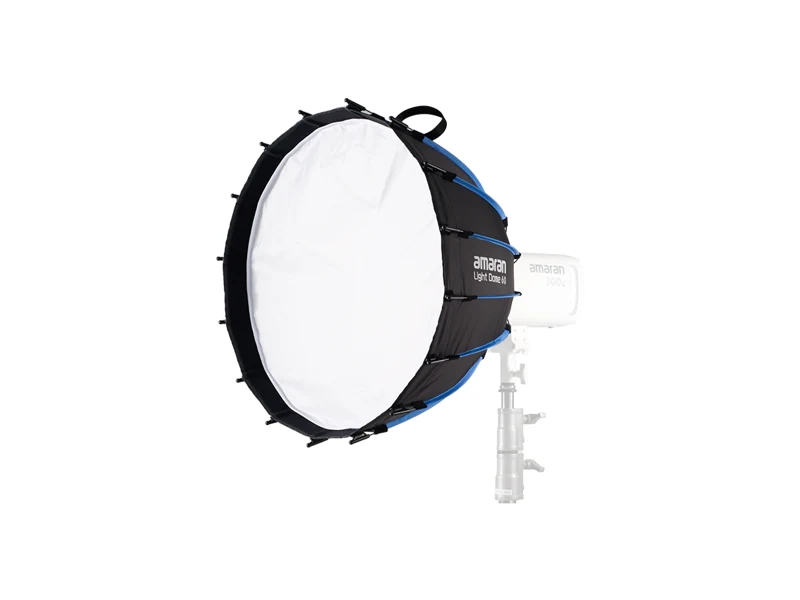
The 100x S is a 100W bi-color light with a Bowens mount. Pair it with the 60cm Light Dome 60 when a small desk panel cannot provide the broad, soft light you want for tutorials and seated portraits. The softbox includes diffusion, an inner baffle, a control grid, and a carrying bag.
Compatibility: the Light Dome 60 fits the 100x S through its Bowens mount. It does not attach directly to the Litra Glow, Key Light Air MK.2, or Ace 25x. Select the 100x S model; similarly named amaran lights are different products.
Complete-kit check: the light and softbox are separate purchases. Add a stable stand rated for the combined load, appropriate ballast, and the required power supply. Check package contents. The softbox alone weighs about 1.2kg and requires space around the stand. Test fan pickup with your microphone.
Skip it if: you need a monitor-mounted call light or a pocket travel kit. This setup takes more floor space and time to assemble.
View amaran 100x S on Amazon (affiliate link)
View amaran Light Dome 60 on Amazon (affiliate link)
100x S mount documentation · Light Dome 60 specifications and accessories
NEEWER RF-80II 32-inch reflector with clamp
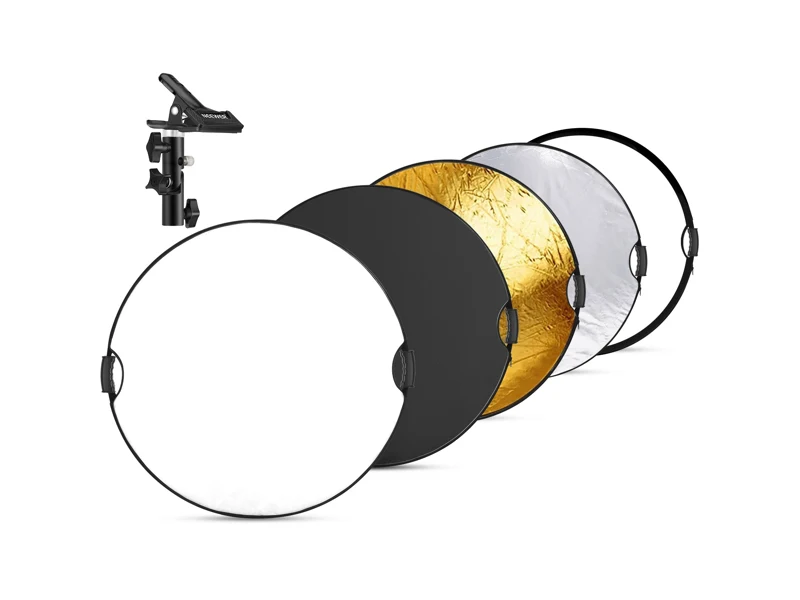
This collapsible 80cm reflector has white, silver, gold, black, and translucent surfaces, hand grips, and a clamp in the linked package. Start with white opposite a window or key light to gently brighten shadows. Silver produces a stronger reflection; gold changes the color; black can reduce reflected fill; the translucent panel diffuses light passing through it.
Before buying: a reflector produces no light of its own. Plan a helper or suitable support; the clamp is not a stand. An existing matte white card may solve a small tabletop problem without a purchase. Check that an 80cm disc fits your room and stays outside the frame.
View NEEWER RF-80II 32-inch reflector with clamp on Amazon (affiliate link)
Fix the picture before replacing the gear
| Symptom | First adjustment | Watch for |
|---|---|---|
| Bright reflections in glasses | Raise the key slightly or move it farther to the side; inspect the camera image while turning your head. | Change the angle before reducing brightness or buying another light. |
| Deep eye sockets or harsh shadows | Lower an overhead key toward eye level, then increase its apparent size or move it closer. | A tiny diffuser does not make a tiny lamp equivalent to a large softbox. |
| Face too dark, window too bright | Turn so the window lights your face, reduce the window in frame, or control daylight with an existing blind. | Do not expect a pocket light to overpower direct sun. |
| Skin changes from orange to blue | Remove competing room lamps and lock white balance when the camera allows it. | A single white-balance setting cannot independently correct two different colors falling on opposite sides of a face. |
| Pulsing or horizontal bands | Record at your actual frame rate and shutter setting across low, medium, and high dimmer levels. Try the camera’s anti-flicker option. | Do not assume a flicker-free label covers every dimming and camera combination. |
| Fan audible in the recording | Listen to a quiet clip after the light warms up; move it away from the microphone or reduce output. | Silent mode may reduce brightness. Test the mode you will actually use. |
| Glossy objects hide the detail | Move the light sideways while watching the reflection; change the camera or object angle if necessary. | More output makes a reflection brighter without revealing the covered surface. |
A ten-minute comparison, then a full-session test
- Keep the camera constant. Use the same lens, composition, app, resolution, and frame rate. Lock exposure and white balance if supported; otherwise note that automatic processing can affect the comparison.
- Record a baseline. Capture 30 seconds with your current setup. Speak, turn your head, and demonstrate the usual hand movements. Check skin detail rather than trying to make every face equally bright.
- Change placement first. Try a closer or larger source and two angles. Keep the camera position fixed. Compare shadow edges, eyeglass reflections, and the visibility of the work.
- Check dimming and sound. Make short clips at low, medium, and high brightness. Review for pulsing, bands, color shifts, and fan noise with headphones.
- Test the real workflow. Join a test call or record in the app you use. Its exposure, compression, and background processing may change the result.
- Run a separate endurance check. After the quick comparison, operate the chosen setup for the planned session duration plus a margin. Record runtime, charging behavior, warmth, fan noise, and any dimming. A ten-minute check cannot establish battery endurance.
- Repeat tomorrow. Recreate the setup from the card below. If it takes too long or blocks your workspace, simplify the support and cable path.
Keep a repeatable lighting setup
Save the settings that worked so your next recording starts faster. This one-page worksheet gives you space to record your room, camera, light placement and full-session test.
- Room & camera: daylight, recording settings, exposure and white balance.
- Light & placement: model, brightness, position, modifier, mount and power.
- Test & repeat: battery, fan noise, reference files and one change for next time.
Download the printable lighting setup card (PDF)
One page · US Letter · Print one copy for each setup. Use “Fit to page” when printing on A4.
The stopping rule
Once the light works, use our webcam and camera guide to decide whether your phone, a webcam or a dedicated camera belongs in the setup.
Keep the setup when your face or work is clear, important highlights retain detail, movement stays lit, sound is clean, and you can rebuild it quickly. Decorative color and background lights are optional. For a small room, plan the support footprint with the creator desk guide; if the light’s fan reaches the recording, review the microphone guide.
Research behind this guide
Elgato — Key Light Air MK.2 specifications and power requirementsLogitech — Litra Glow controls and mountingamaran — Ace 25x package contentsamaran — Ace 25x modes, fan behavior, and runtime conditionsNikon — Setting white balance for videoCanon — White Balance Instruction ManualOSHA — Workstation Environment and LightingHow we’ll keep this guide current
Material changes to the cited guidance, prices, availability, or commercial terms will trigger a review before this page is republished.